Looking to give your text a gritty spray-paint effect?
This quick Photoshop tutorial shows how to combine Field Blur and Dissolve mode to get a natural, textured look that’s perfect for posters, street-style branding, or digital artwork.
Let’s jump in 👇
Step 1: Set Up the Canvas
Create a new document at 1024 × 1024 px.
Fill the background with #faf0e2 (or any light color).
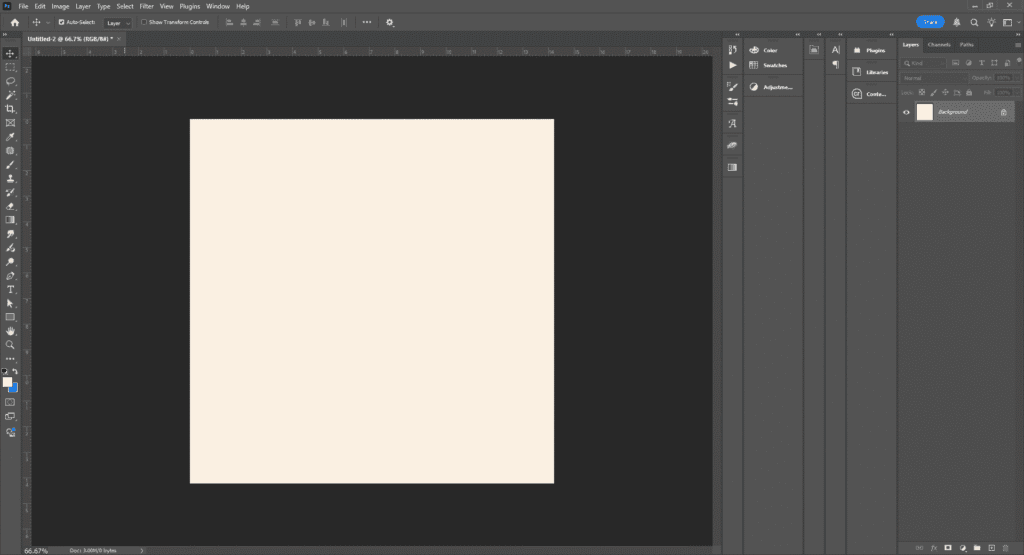
Tip: Light backgrounds enhance the scattered spray texture.
Step 2: Add and Convert Text
Type any letter or word using the Type Tool (T).
Here, we used a bold decorative font for stronger texture.
Right-click the text layer → Convert to Smart Object.
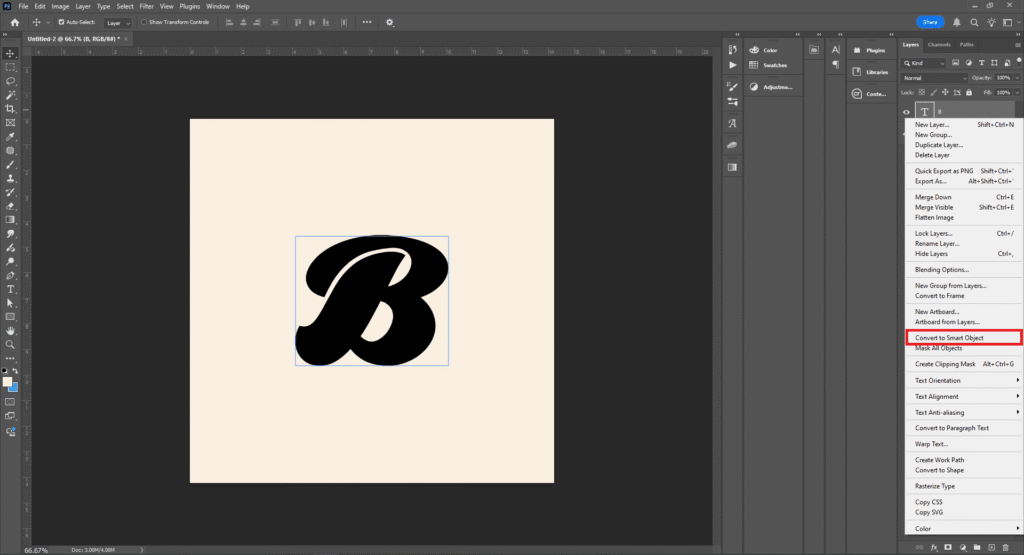
Tip: Smart Objects let you reuse or edit the text later without redoing the effect.
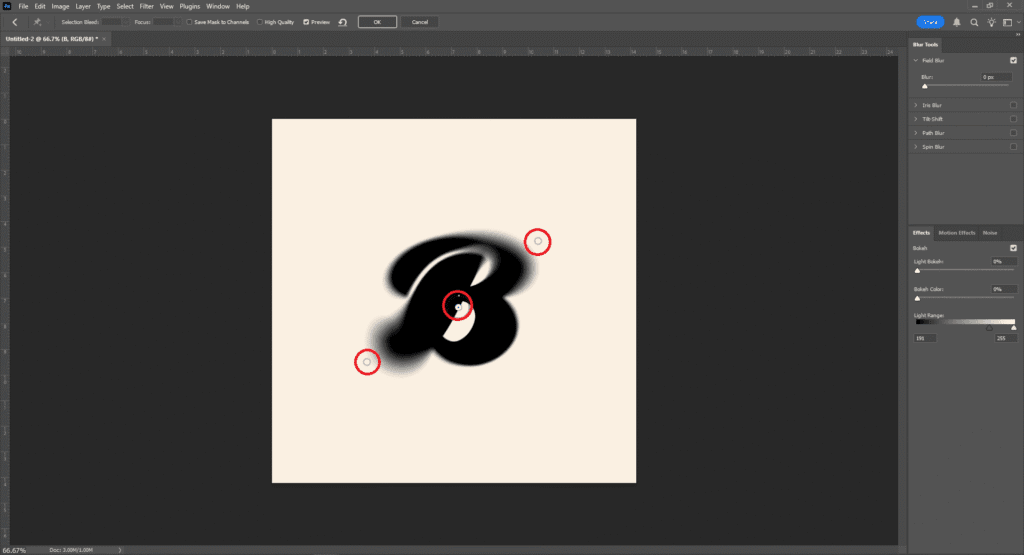
Step 3: Apply Field Blur
Go to Filter › Blur Gallery › Field Blur.
Add three blur points:
- Center of text → Blur = 0 px
- Top-right corner → Blur ≈ 20+ px
- Bottom-left corner → Blur ≈ 20+ px
Click OK to apply.
This creates a directional depth—sharp in the middle, soft at the edges.
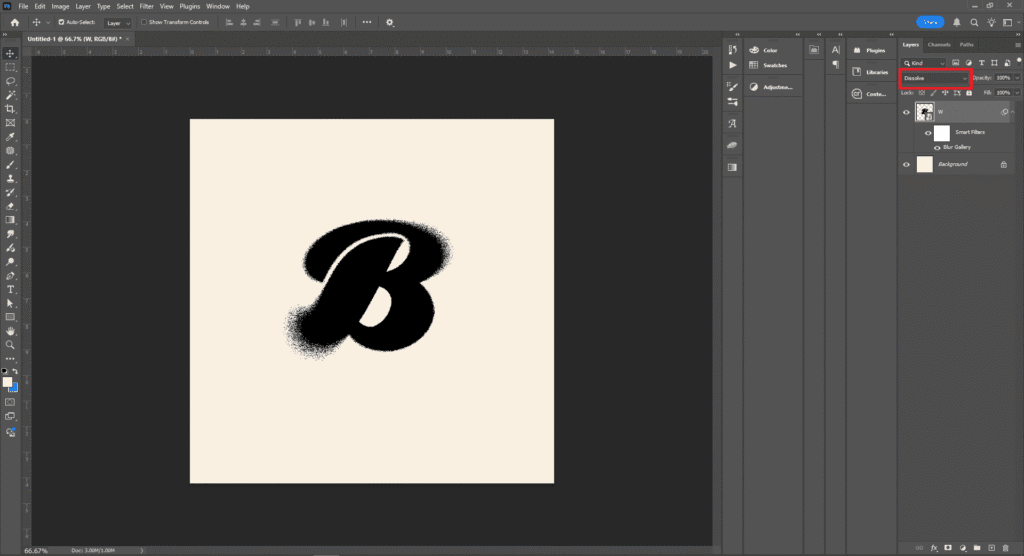
Step 4: Add the Dissolve Effect
Select the text layer and change the blending mode to Dissolve.
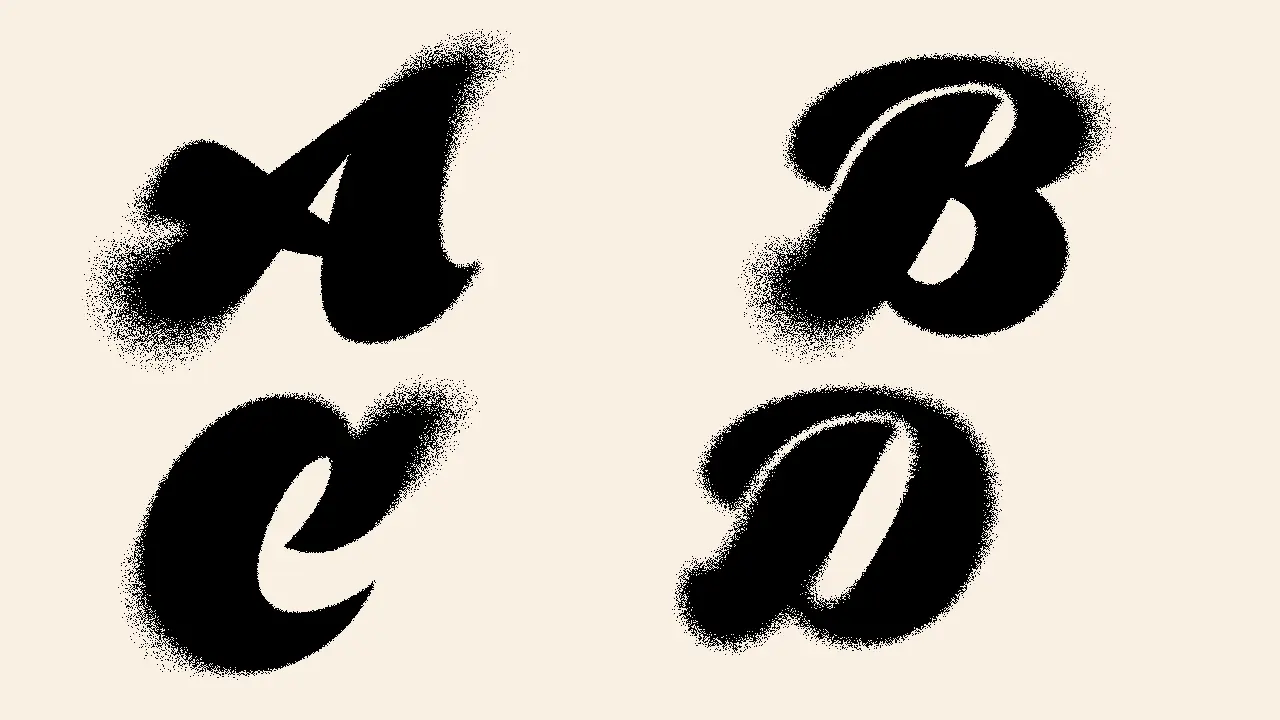
🎉 Boom! Your realistic spray effect is complete.
Tip: Tweak opacity or duplicate the layer for denser sprays.
Bonus Tip
Since the layer is a Smart Object, you can easily edit the text later—just double-click the layer thumbnail and type new letters or words to reuse the effect.
Try Our Tools
FAQ of Spray Text Effect in Photoshop
Yes! Bold and decorative fonts produce the best texture, but any typeface works.
They keep the blur editable and let you replace text instantly.
Absolutely—add a gradient overlay or hue/saturation adjustment layer.
Yes. Export as PNG or TIFF to maintain transparency and texture.