If you’re learning Adobe Illustrator, creating a flat avocado illustration is a fun and beginner-friendly exercise. It helps you practice the Ellipse Tool, Shape Builder Tool, and basic color theory — all while making a modern, minimal icon you can use in UI design, food graphics, or infographics.
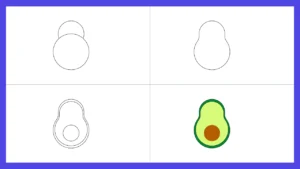
Let’s create this cute avocado in just 4 easy steps using a simple color palette.
Color Palette:
- 🍃 Green Skin –
#008a35 - 🥑 Avocado Flesh –
#d7fa7a - 🟤 Seed –
#b25d00

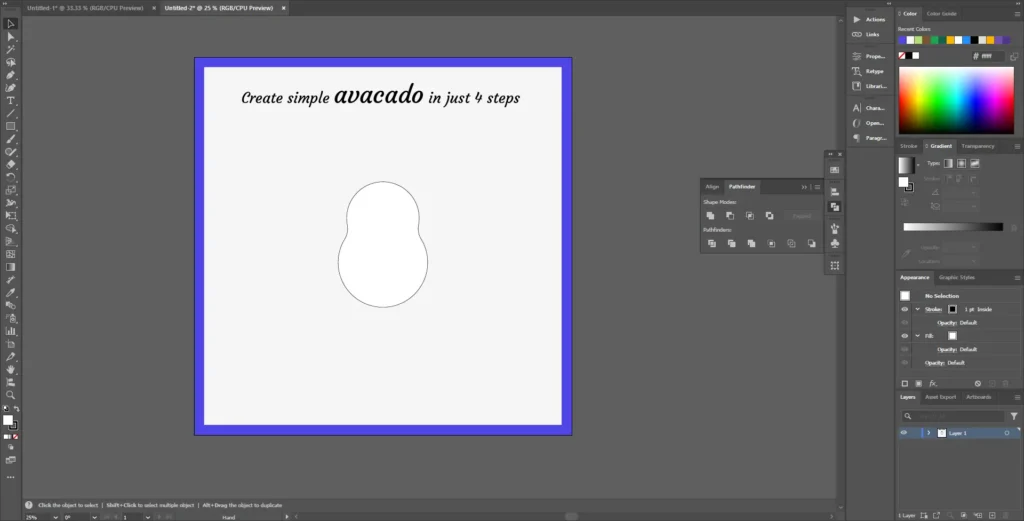
Step 1: Create the Base Shape
Start with a 1:1 artboard.
Use the Ellipse Tool (L) to draw two circles — one large and one small.
Overlap them vertically to form the top and bottom of your avocado. This creates the natural pear-like shape of an avocado.
Step 2: Merge with Shape Builder
Select both circles and open the Shape Builder Tool (Shift + M).
Click and drag across the overlapping part — this merges them into one smooth shape.
Now you’ve got the avocado outline ready!
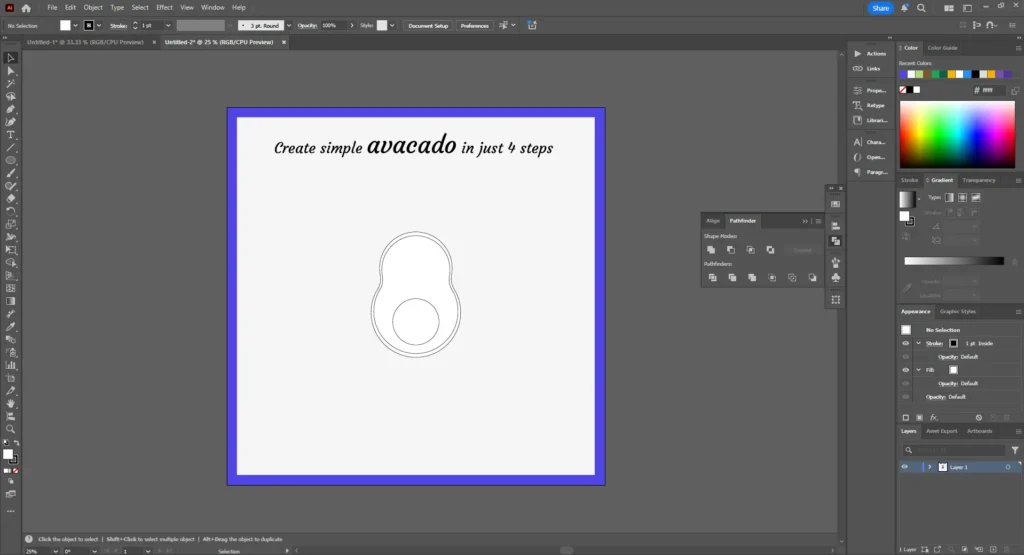
Step 3: Add the Pit
Duplicate the new avocado shape (Ctrl + C → Ctrl + F) and slightly scale it down to create the inner layer (the light green flesh).
Next, use the Ellipse Tool again to create a small brown circle and place it near the bottom half — that’s your avocado pit!
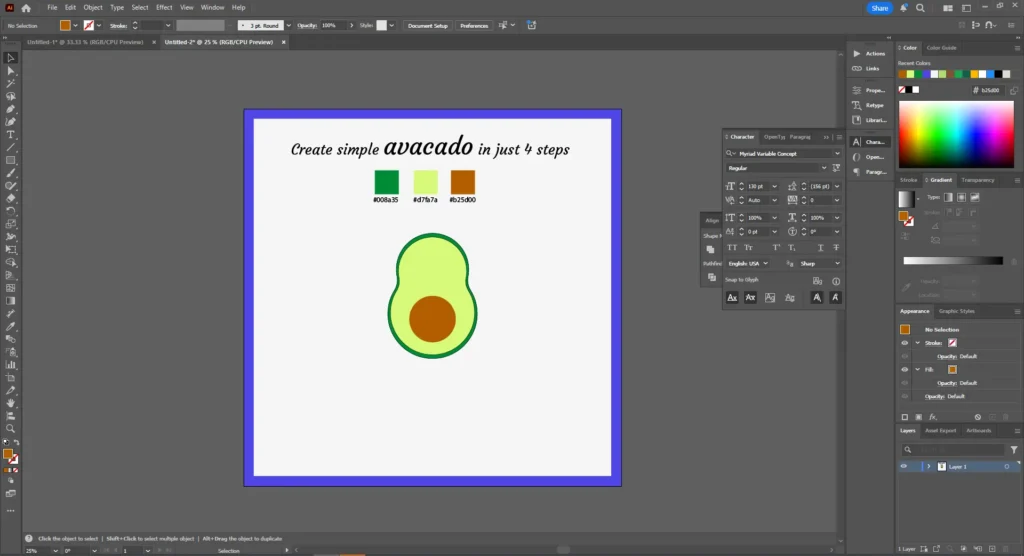
Step 4: Apply Colors
Use your color palette to fill the shapes:
- Outer skin →
#008a35 - Inner layer →
#d7fa7a - Pit →
#b25d00
And that’s it! You’ve just created a clean, flat-style avocado illustration in a few minutes.
For a modern look, add a subtle shadow below or a light gradient on top. This will give your design a little depth while keeping the flat aesthetic intact.
Try Our Tools
FAQ
Yes! Figma has similar shape tools — Ellipse + Union Combine works just as well.
Yes, it’s available from Adobe Illustrator CS5 onward.
For web or icons — use SVG. For print — export as PNG or PDF.
If it’s your own creation, yes. For stock uploads, make sure the design is original and not traced.